The console is available to existing customers and approved prospective customers as a user interface for achieving the following goals:
- Retrieve API credentials and test the API
- Creating a secure place for customers to exchange files with Enigma; retrieving processed lists and enriched records (batch appends) and providing Enigma with records to enrich
- Researching individual businesses on an ad-hoc basis
To access the console, please first contact our sales team at contact@enigma.com.
Connecting a data source
The Enigma File Manager System (FMS) is a secure platform for exchanging data between your systems and Enigma. It supports both S3 and SFTP connections, making it flexible for different infrastructure needs.
The Enigma File Manager System (FMS) allows customers to connect a customer-owned S3 bucket or a SFTP server for sending and receiving files. By default, all customers are given access to an Enigma SFTP server.
Filepaths within the file manager for any source cannot be longer than 110 characters.
Sending multi-part parquet files to Enigma requires setting up a source in File Manager. See our data format guidelines for more details.
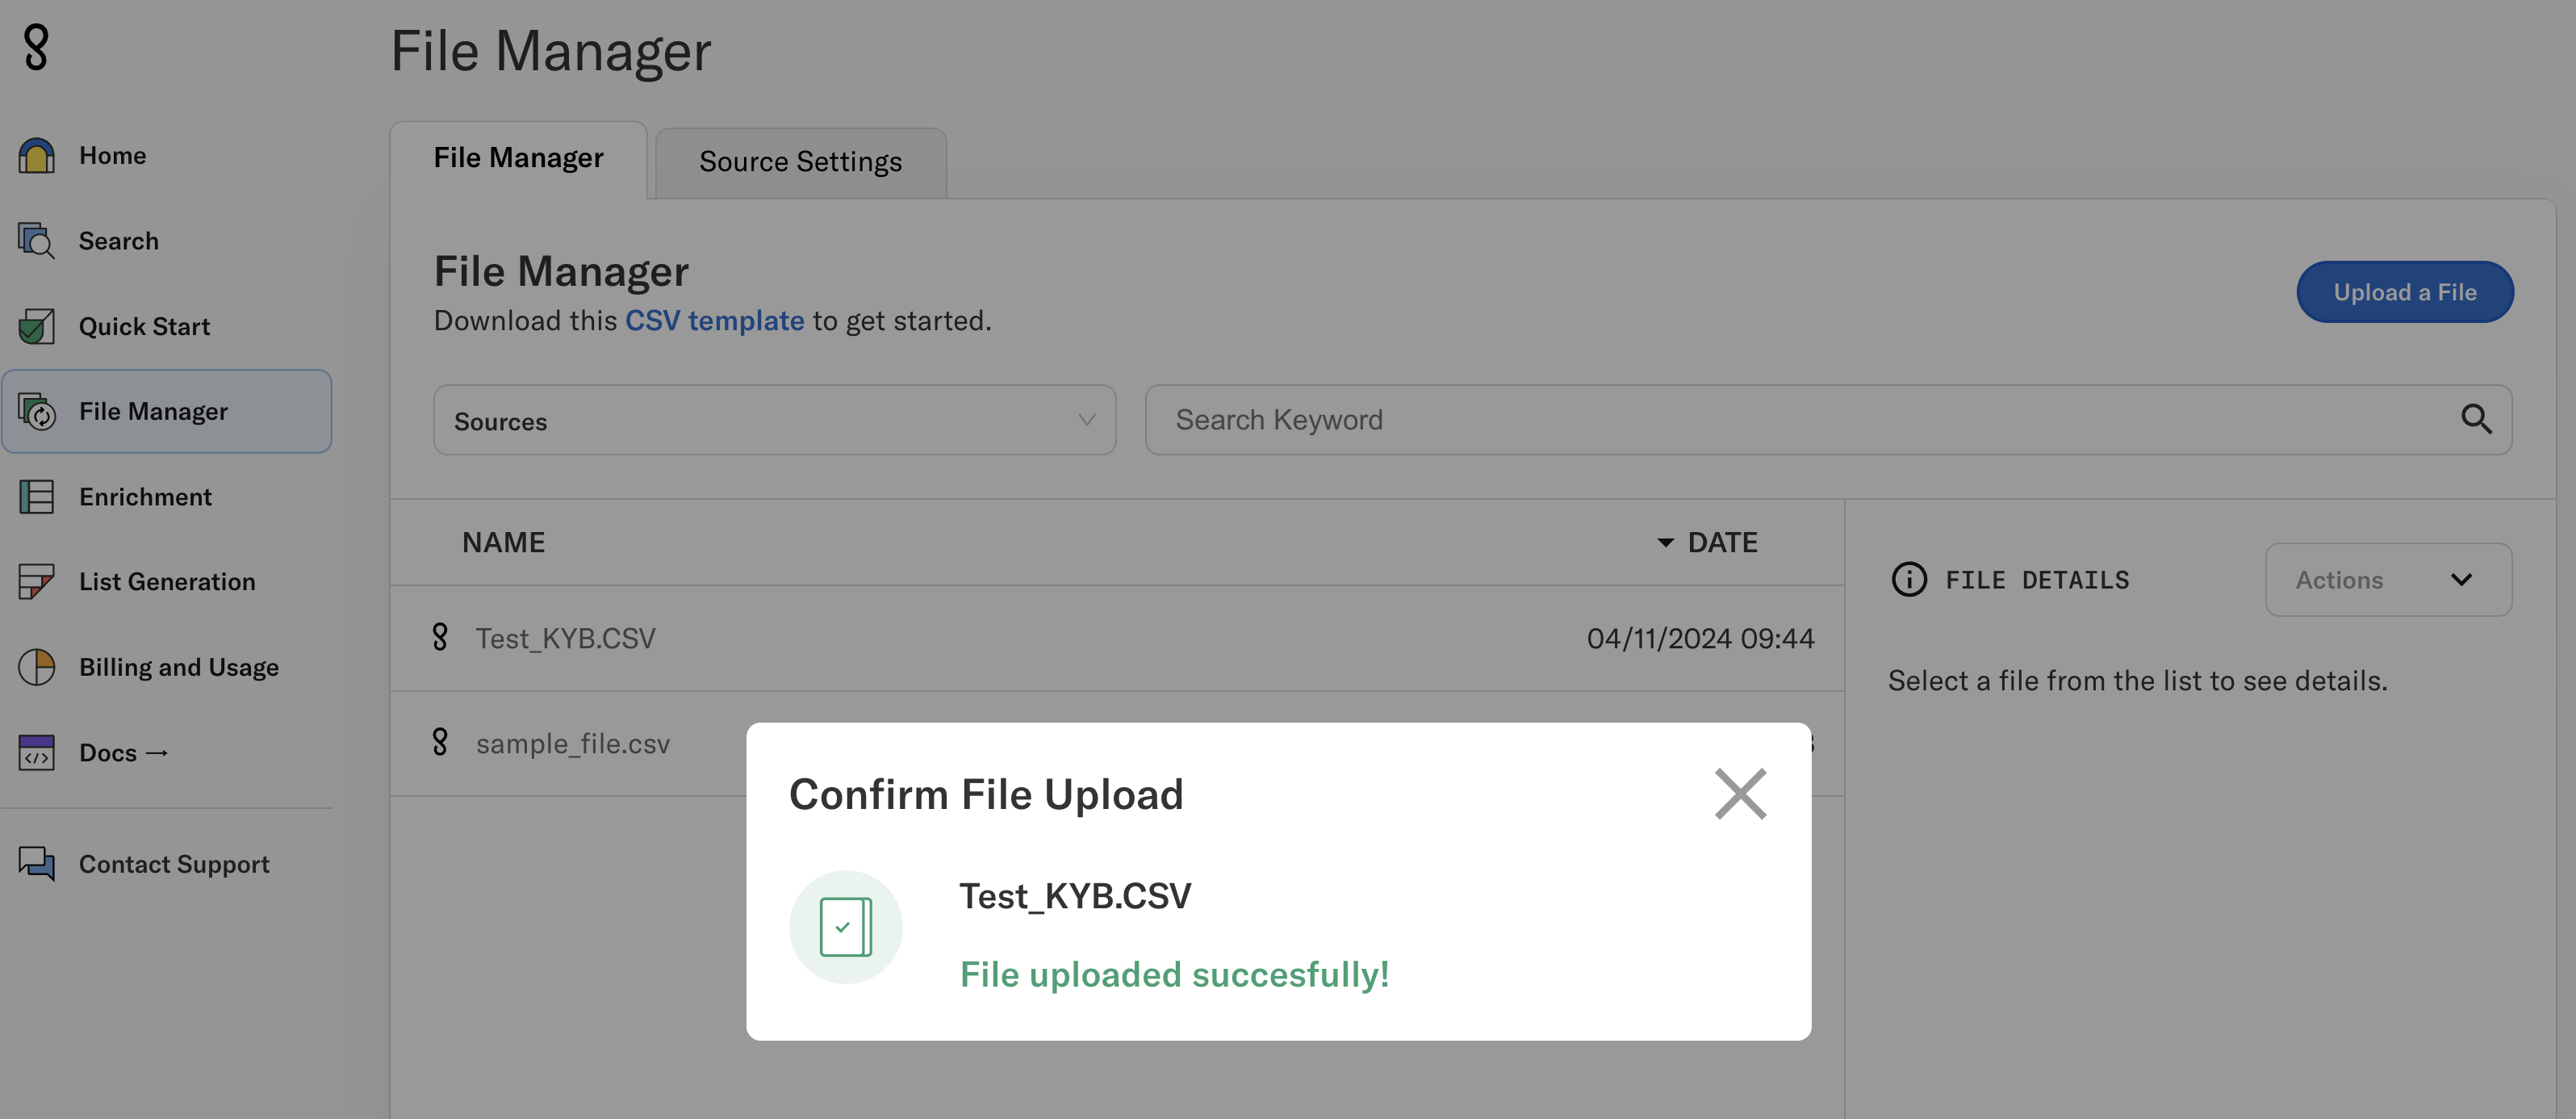
Connecting a new source
- To connect a source, go to File Manager and click on Source Settings, and Connect New Source.
Connecting to the Enigma-owned SFTP server
SSH key authentication provides a secure way to connect to the SFTP server. Your public key acts like a secure identifier, while your private key (which you keep) acts as your secure password.
-
To connect to the Enigma owned SFTP, you will need to provide Enigma with a SSH public key. Enigma will install the public key on the SFTP server it has dedicated to your org.
Legacy AccessExisting customers: All customers prior to March 2024 using Enigma SFTP have had their SSH keys automatically installed. For existing customers who have previously connected a connect a SFTP source, a public key should already be present.
-
Begin my adding a new source and select Enigma SFTP under the drop down menu.
-
Enter your public SSH/SSH2 key in the Enigma SFTP server.
- Enter any optional credentials such as read/write folder path parameters, or your PGP public key (if you want us to encrypt your files for delivery).
Adding a PGP public key enables end-to-end encryption of your files, providing an additional layer of security for sensitive data transfers.
Connecting to your SFTP server
Connecting your own SFTP server consists of the same steps as above, with the SSH key swap reversed; the customer will need to install the Enigma host SSH public key on their side.
Connecting to your S3 bucket
We support two methods for S3 authentication:
- Access Key/Secret (simpler but requires credential management)
- IAM Role (more secure, recommended for production)
Option 1: AWS_ACCESS_KEY_ID + AWS_SECRET_ACCESS_KEY
Create an IAM user in your AWS account
- Attach IAM policies to allow read and write operations to your s3 bucket
- Create an access key for the new IAM user
- Create a new Data Source in the console by selecting S3 from the dropdown menu.
- Fill in AWS Secret Access Key and AWS Access Key ID
- You may leave other fields blank.
Option 2: IAM Role
Using IAM roles is the recommended approach for production environments as it provides better security through temporary credentials and doesn't require managing long-term access keys.
- Create an IAM role in your AWS account
- Attach IAM policies to allow read and write operations to your bucket
{
  "Statement": [
    {
      "Action": "s3:ListBucket",
      "Effect": "Allow",
      "Resource": [
        "arn:aws:s3:::BUCKET_NAME"
      ]
    },
    {
      "Action": [
        "s3:GetObject",
        "s3:PutObject",
        "s3:DeleteObject"
      ],
      "Effect": "Allow",
      "Resource": [
        "arn:aws:s3:::BUCKET_NAME/*"
      ]
    }
  ],
  "Version": "2012-10-17"
}
- Add the following statement to the Trust Policy for your role:
{
  "Version": "2012-10-17",
  "Statement": [
    {
      "Effect": "Allow",
      "Principal": {
        "AWS": [
          "arn:aws:iam::435097078665:role/file-manager-service-prod-lambdas",
          "arn:aws:iam::435097078665:role/file-manager-service-prod-ecs-task"
        ]
      },
      "Action": "sts:AssumeRole"
    }
  ]
}
Replace BUCKET_NAME in the policy with your actual S3 bucket name.
- Create a new Data Source in console, filling in AWS role ARN. All other fields can be left blank.
For more information about file delivery options and file formats, see the File Delivery documentation.